This is a project designed for the grade 3 science curriculum in the province of Alberta. Many classrooms have the young students build bridges and then compare the materials, and strengths and weaknesses of them by comparison. This is simply a means to bring the option of digital design and 3D printing into the elementary school classroom and to build useful skills that the students will be able to draw on later in life.
Here's the link to my website where you can find progress pictures, connections to the curricula, and the project design: https://2teacher4u.wordpress.com/grade-3-science-bridge-building/
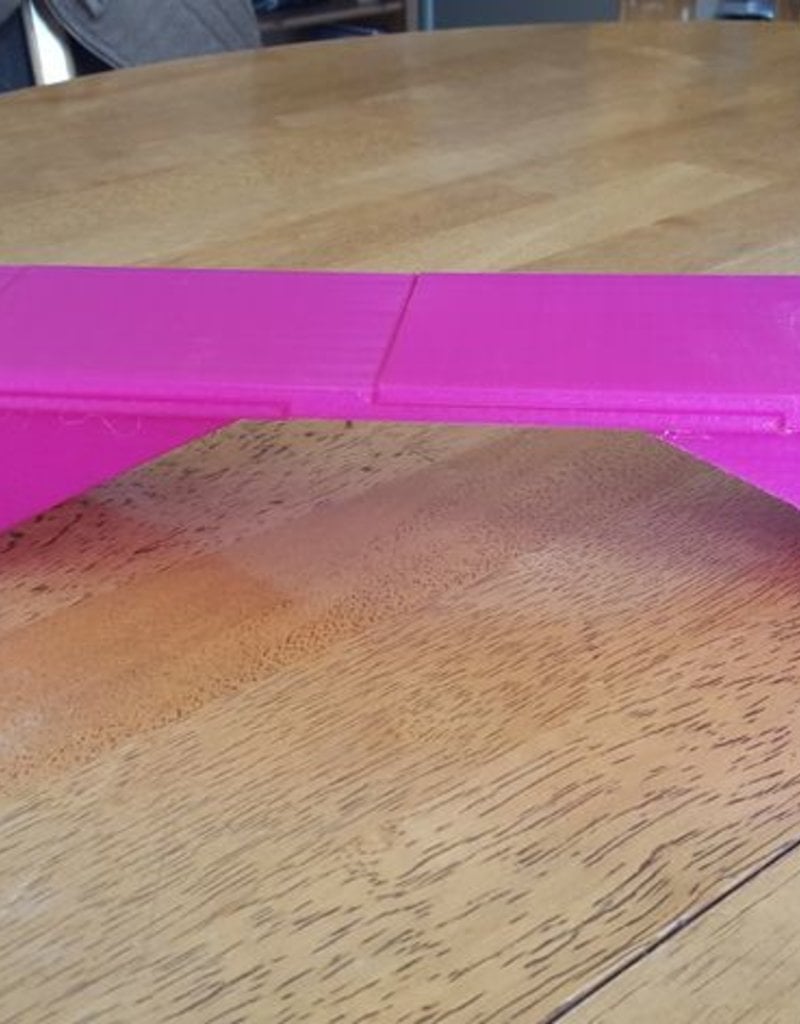
I built this exemplar in the 123D Design iPad app.
After printing I assembled the pieces with a hot glue gun.
From the Alberta Grade 3 Science Curriculum: Topic B
Students will:
3–6 Use, safely, a variety of tools, techniques and materials in construction activities.
3–7 Construct structures, using a variety of materials and designs, and compare the effectiveness of the various materials and designs for their intended purposes.
Students will:
3–8 Evaluate the suitability of different materials and designs for their use in a building task.
Objectives:
Students will design, print, and assemble components of a bridge that will span a gap of at least 25cm and hold 5kg of mass. Students may choose 3D modelling and printing as a means of building their bridge, but are not limited to this course of action. Other materials such as wood are allowed as well.
Students will compare the strength of materials and the designs of bridges as a class to analyze the benefits and disadvantages of each material tested.
Audiences:
This is designed for the Alberta Grade 3 Science curriculum, but there is room in the other elementary grades to be able to fit similar design and material strength-testing activities.
Much more advanced designs of bridges could be built for high school or post-secondary engineering and design courses.
Preparation:
Students who wish to build their bridges with 3D printers should have access to iPads with the (free) 123D Design app installed. It would be useful for the teacher to (ahead of time) create a classroom AutoDesk account so that all designs can be accessed from a single PC. Students should also have some prior experience with the app.
1) Students will plan out the design of their bridge. What type will it be? Where will the support be?
2) Students will design their bridges on the iPad 123D Design app while logged into the classroom Autodesk account.
3) Students will upload their finished bridge designs to the cloud under appropriate names (ie// "BillyAndSusiesBridge")
4) The teacher will print off the finished bridge pieces from the 123D Design PC software. Students should help by preheating the 3D printer and applying adhesive as necessary.
5) Assemble the bridge components and prepare for weight testing.
Results:
The .stl files that I uploaded are my "basic" grade 3 design that I created as an exemplar and demonstration to the students. There are many more designs that they can create with the shapes available to them in the 123D Design app.
Completion of individual bridges should be a completeness mark, and they should not be penalized if their bridge falls apart under the weight. The real assessment comes from what they can show they've learned afterwards in the form of a short report written in their science journals, an ongoing effort on their part kept either digitally or in a notebook, where they will analyze and compare the different materials and bridge structures that they and their classmates built.


")
")